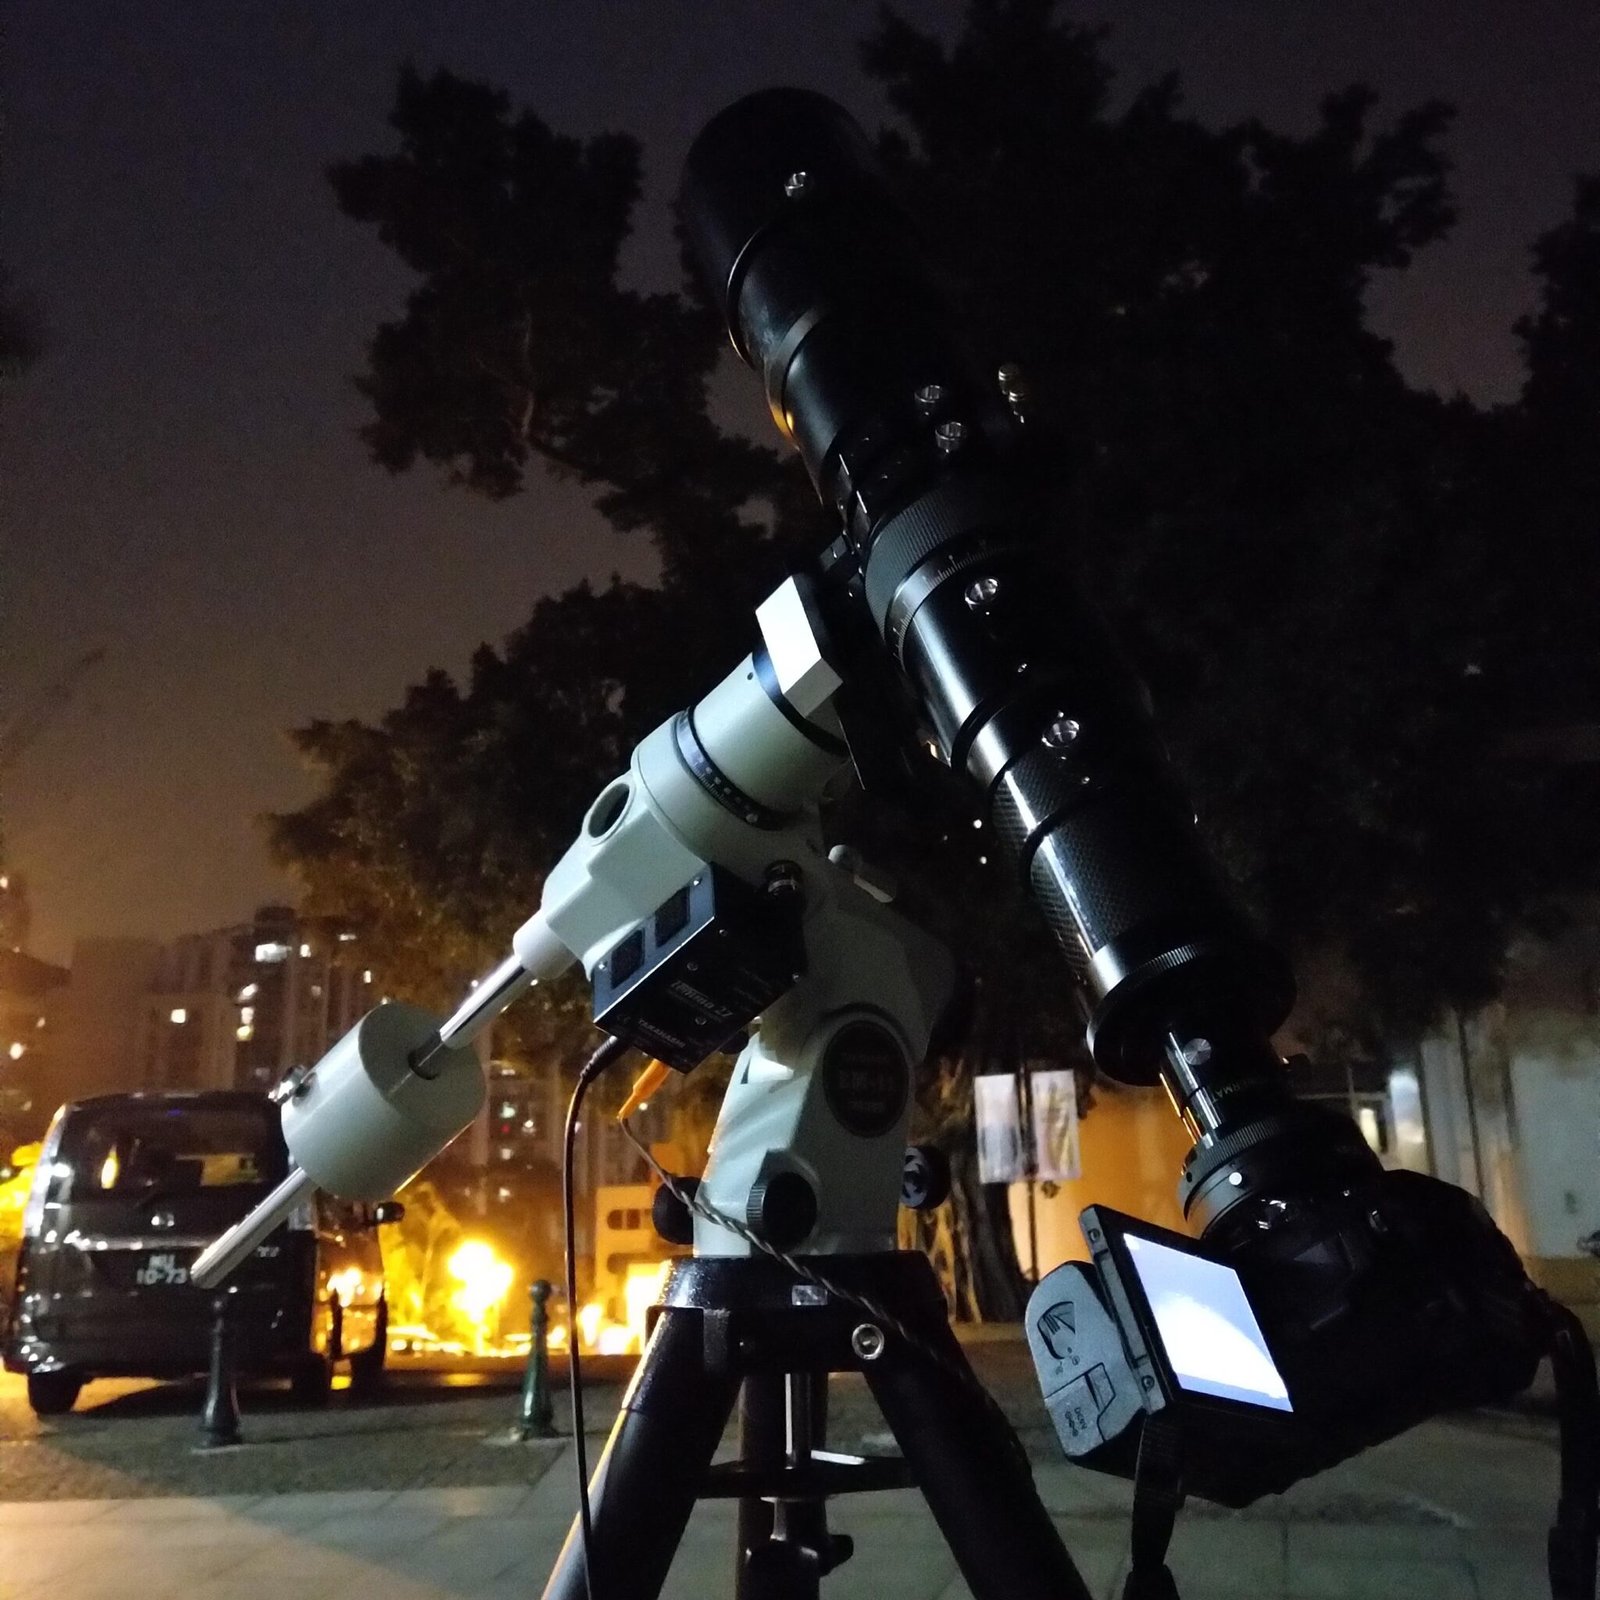
Planetary and moon photography always about stacking. Atmospheric disturbances can affect the stability of images at great distances. Also, most of the cameras used for planetary photography have smaller sensor formats with high pixel density. The signal-to-noise ratio is always insufficient. The current mainstream practice is the use of specialized Astro cooling cameras connected to the computer, shooting thousands of frames of AVI files, and then stacked them with software.
However, computers and equatorial instruments are not the equipment that you bring out every day. Also, it is a bit too tiring to set up a telescope, equatorial mount, and the computer every time you shoot. We need happy photography! When you have only an M4/3 camera that can shoot 4K video, a lens with 300mm actual focal length ( equivalent FOV of 600mm in 35mm format), and a tripod, can you shoot the moonlight well?

Take the M4/3 system as an example, the cameras have the highest 20MP pixels count. 4K is around 10MP pixels, with a resolution of 3,840×2,160. 4K resolution already catch up with nowadays needs.
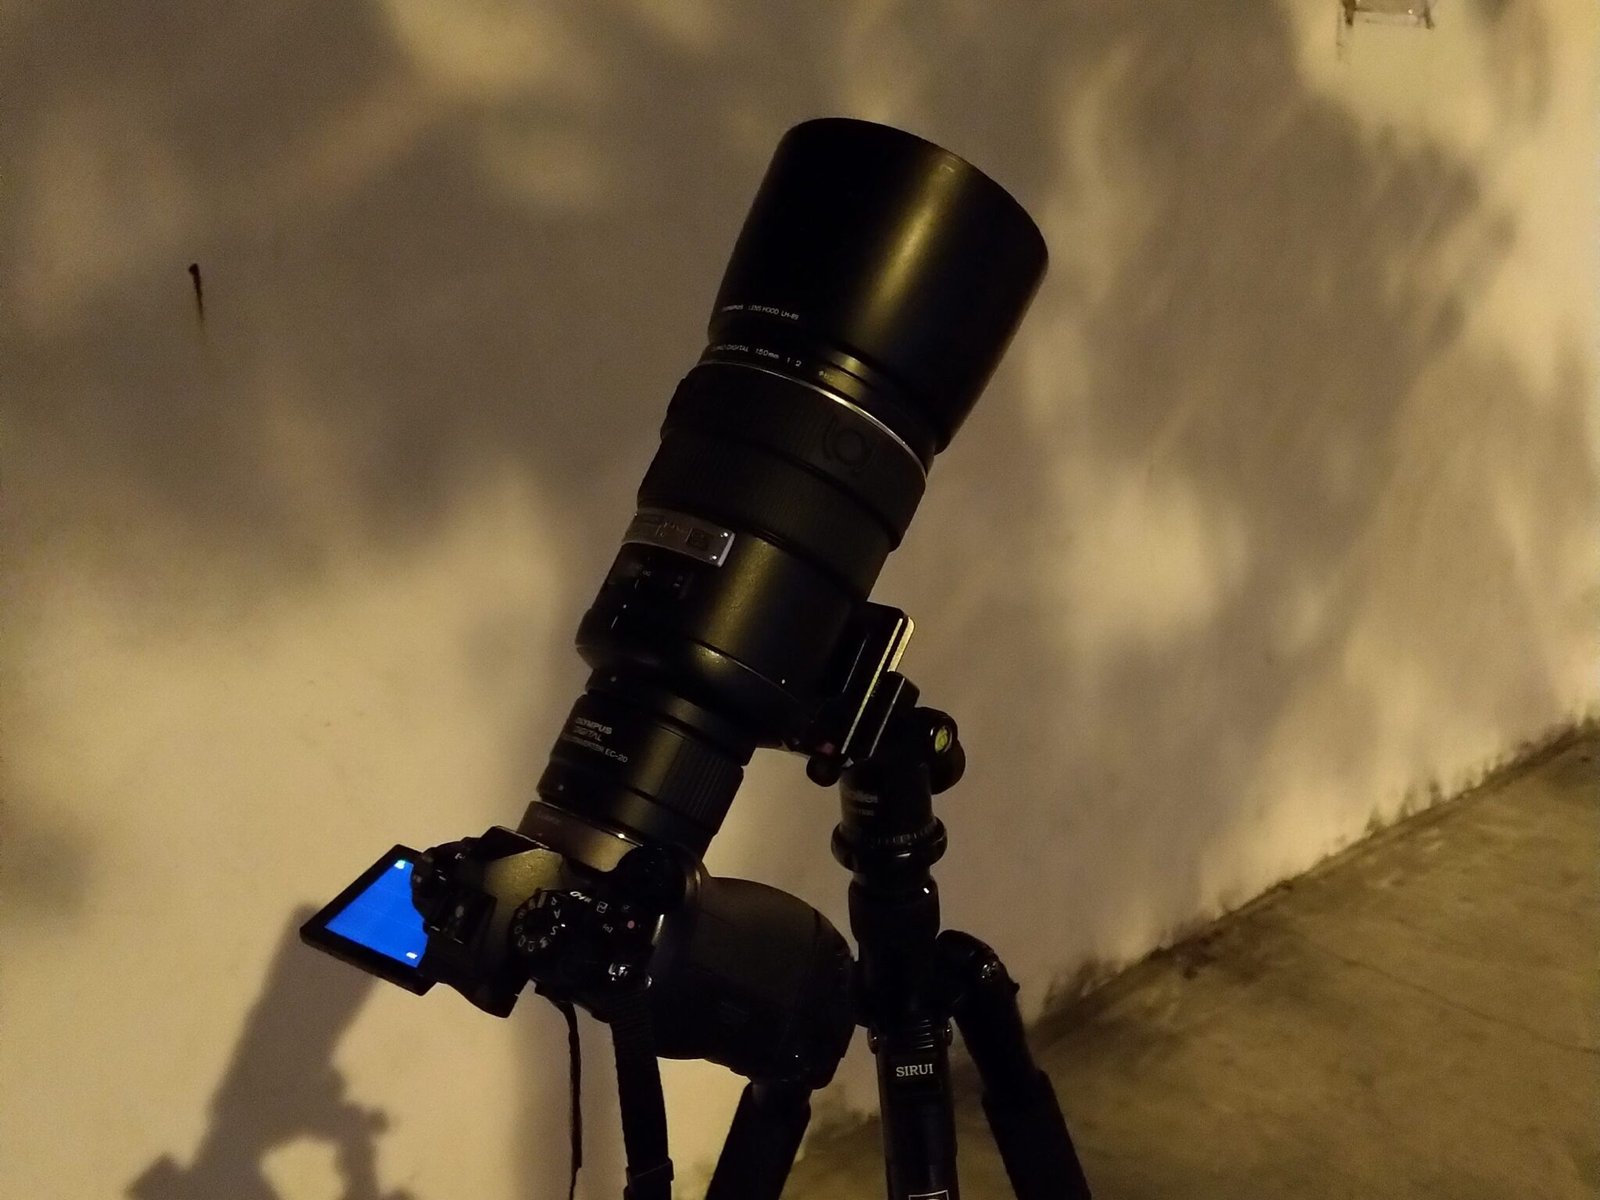
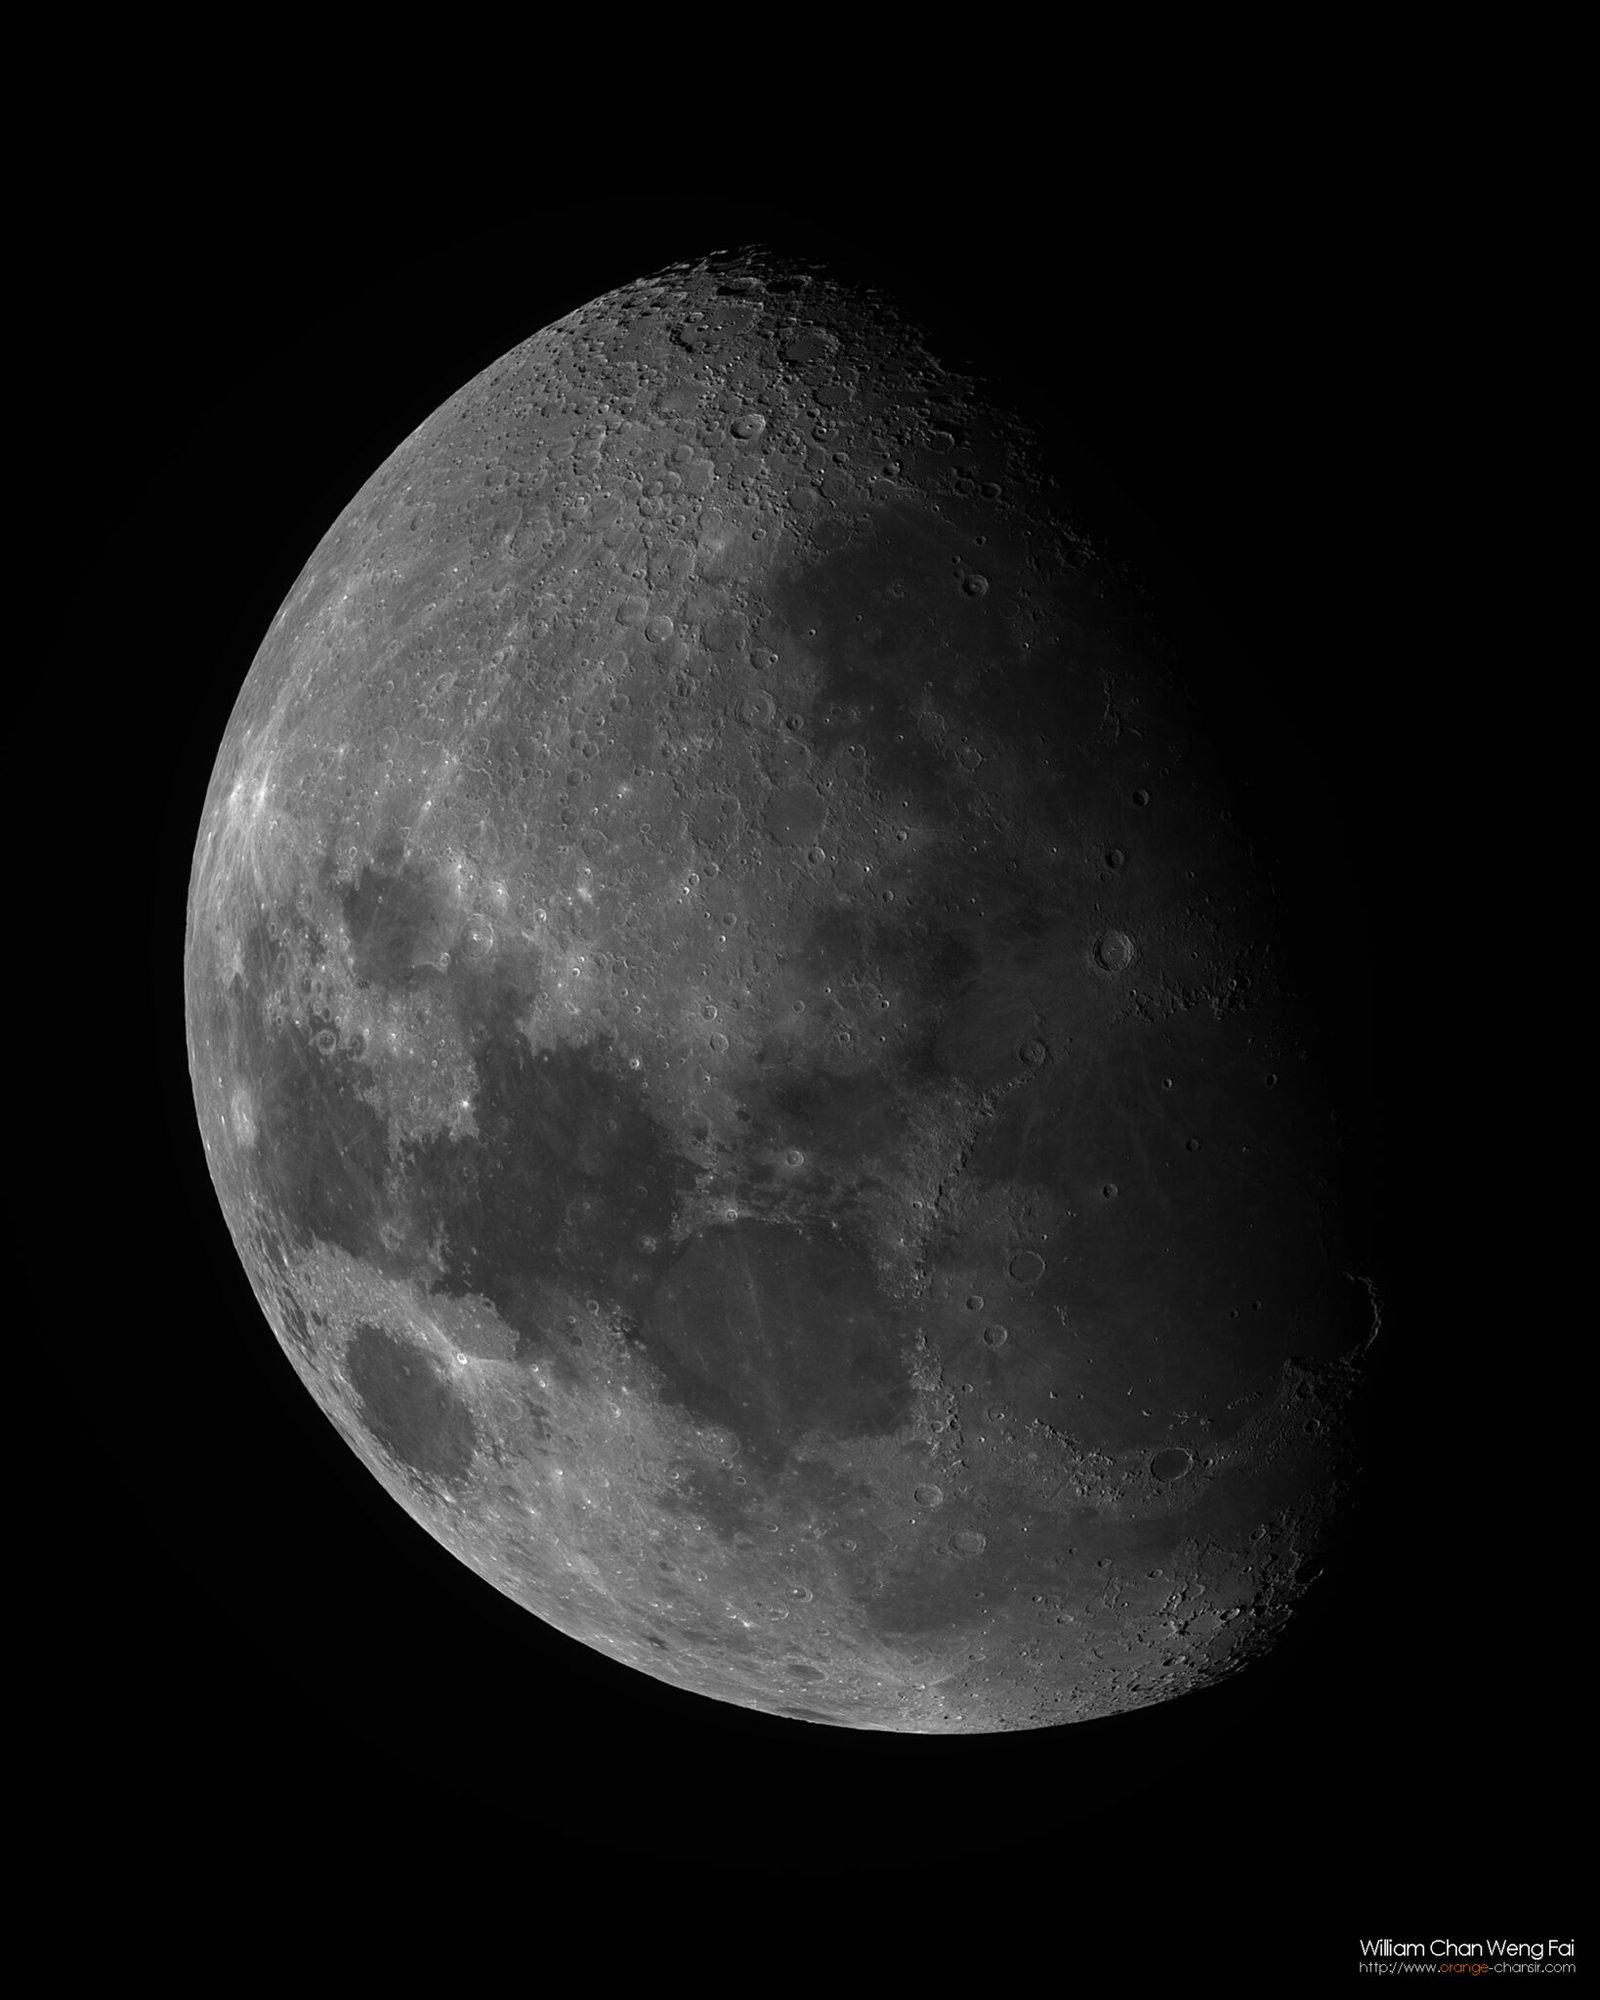
I once tried to shoot the moon with my Olympus E-M1 II with 4K30 specification, just setting up a tripod on the street. The moon was rising towards the middle of the sky, so I put the moon at the bottom of the screen to reserve the position for the moon to move. Finally, I recorder about 2,000 frames. In order to provide a contrast, I also took a single shot for comparison.
The following three demos are 100% crop from the original photos.

I used AutoStakkar!3 to stack the 2,000 frames movie. First, we take a look at the single shot. After applying two times sharpening, the image is full of artifacts.

Now take a look at the 4K movies stacked. Shooting 4K with E-M1 II is actually a resizing the image from 20MP to 10MP (3,840×2,160). The pixel pitch was increased from the original 3.3um to the equivalent of 4.5um so the image looks slightly smaller than a single shot. however, after applying “sharpening” twice, the result was better than a single shot.

I also tried to shoot Jupiter with the E-M1 II’s 4K30 video, and the results were quite good.


Limitations
Of course, lightness and quality sometimes go against each other. Camera shooting 4K video is now generally used a larger proportion of compression. The quality of the 4K movies by cameras is still too far behind the Astro cameras with MotionJPEG AVI output.

Secondly, most of the cameras provide a maximum of 60 frames per second with 4K movies. It is still enough when we shoot relatively stable targets such as the Moon. However, with Jupiter, which rotates one degree every 99 seconds, the frame rate is obviously insufficient. Assume we have to finish shooting in 50 seconds and with 4K60 cameras, we only got 3,000 frames. With a planetary Astro camera, you may get over 10,000 frames. It is also beneficial to provide more samples, better to avoid atmospheric disturbances, with a higher frame rate.
Finally, most cameras have resolution surpassed 4K, which means that shooting 4K is resized image with lower pixel density (In addition, some cameras from different manufacturers offered cropped 4K movies with native pixels count).

I still recommend this method, especially while you don’t have any pieces of equipment with you. I personally think that this is more suitable for shooting the moon and other large targets. Sensor formats with APS-C or smaller are recommended. Some cameras on the market now provide 6K video shooting, and I am actually quite looking forward to the day when 8K movie is popular.
Leave a Reply